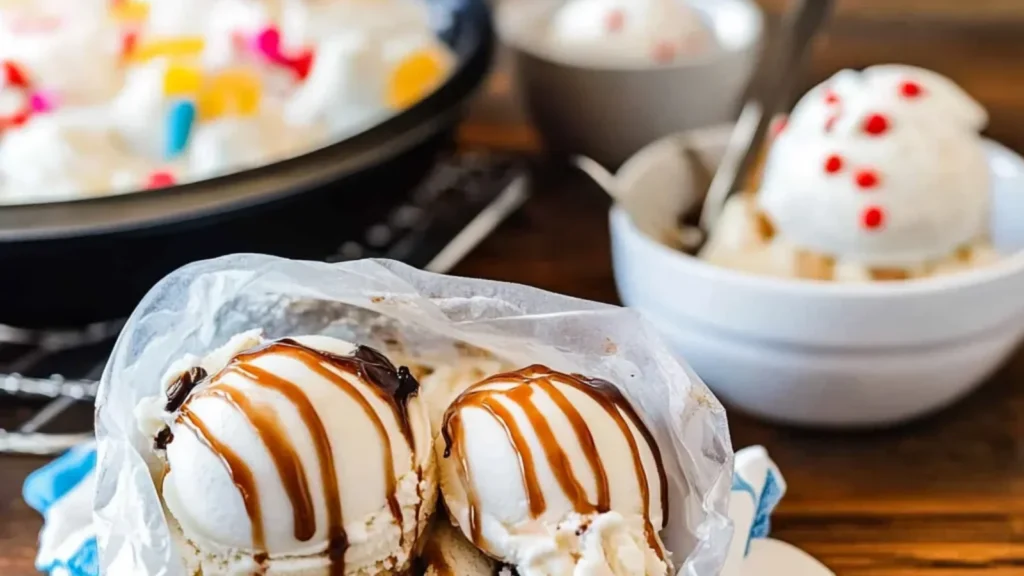
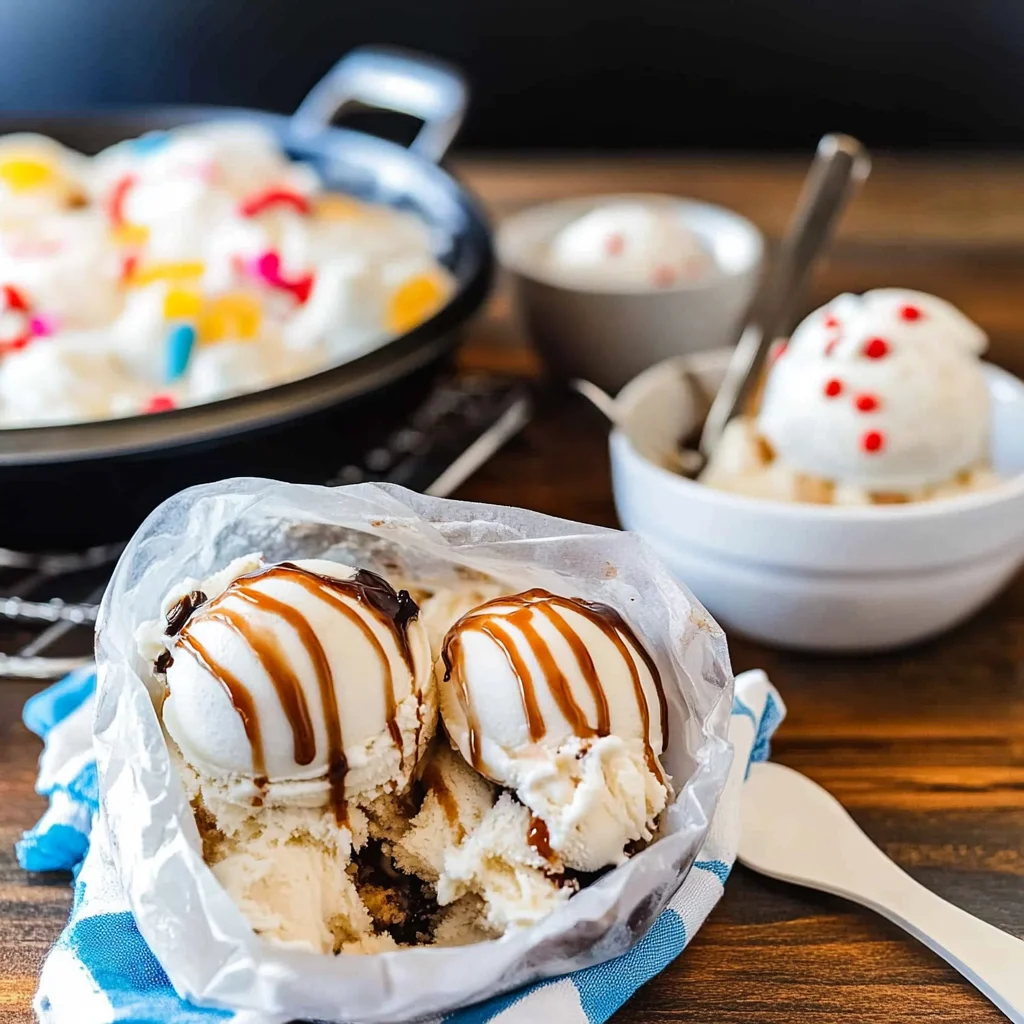
Imagine the sweet, creamy delight of homemade ice cream in a bag, where every scoop is bursting with flavor and nostalgia. The chilly sensation of ice crystals dancing on your tongue, mixed with the rich taste of vanilla, creates a treat that’s not just a dessert but an experience to savor, especially on those hot summer afternoons.
I still remember the first time I whipped up ice cream in a bag with my friends during a backyard barbecue. Laughter filled the air as we shook those bags, eagerly anticipating our icy creation. It’s perfect for parties or a cozy night in, turning an ordinary moment into something magical. So grab your ingredients and get ready for an adventure that promises to satisfy your cravings and tickle your taste buds!
Why Is ice cream in a bag So Irresistibly Good?
Easy to make: With just a few simple ingredients and minimal equipment, you can whip up this delightful treat in no time!
Fun for everyone: Kids and adults alike love shaking the bag, making it a perfect activity for family gatherings or parties.
Rich flavor: The combination of heavy cream, whole milk, and vanilla extract creates an ultra-creamy and deliciously rich ice cream that you can customize with your favorite mix-ins.
No special tools needed: Forget about ice cream machines; all you need is a zip-top bag!
Quick satisfaction: In just 10 minutes, you’ll have creamy, homemade ice cream ready to enjoy.
ice cream in a bag Ingredients
For the Ice Cream Base
1 cup heavy cream (chilled) – This rich cream will give your ice cream that luscious texture we all love.
1 cup whole milk (chilled) – Whole milk adds a creamy consistency and balances the richness of the heavy cream.
3/4 cup granulated sugar – Sweetness is key, and this sugar helps create that delightful flavor and smoothness.
1 teaspoon vanilla extract – A splash of vanilla enhances the flavor, making your homemade ice cream extra special.
For the Ice and Salt
3 cups ice – Ice is essential for chilling and freezing your ice cream mixture effectively in a bag.
1/2 cup rock salt – Rock salt lowers the freezing point of ice, ensuring your ice cream becomes perfectly creamy while you shake!
How to Make ice cream in a bag
1.Combine Ingredients: In a mixing bowl, combine 1 cup of chilled heavy cream, 1 cup of chilled whole milk, 3/4 cup of granulated sugar, and 1 teaspoon of vanilla extract. Stir gently until the sugar dissolves completely.
2.Seal the Base: Pour the creamy mixture into a quart-sized zip-top bag and seal it tightly, making sure to remove as much air as possible for optimal freezing.
3.Prepare Ice and Salt: In a gallon-sized zip-top bag, add 3 cups of ice and 1/2 cup of rock salt. This combination will help freeze your ice cream quickly! Place the sealed quart-sized bag inside this larger bag and seal tightly.
4.Shake Vigorously: Shake the bags energetically for about 5-10 minutes. You’ll feel the mixture thicken and harden; it should become a delightful texture for your homemade treat!
5.Serve Up: Carefully remove the smaller bag from the larger one, wiping off any excess salt. Open it gently, then scoop the velvety ice cream into bowls and enjoy every creamy bite!
Optional: Top with chocolate syrup or fresh fruit for an extra special treat!
Exact quantities are listed in the recipe card below.
Tips for the Best ice cream in a bag
Chilled Ingredients: Ensure both the heavy cream and whole milk are thoroughly chilled to help the mixture freeze faster and achieve a creamy texture.
Seal Tightly: When sealing the quart-sized bag, remove as much air as possible. This prevents leaks and helps the ice cream freeze evenly.
Ice Ratio: Use the recommended ratios of ice to rock salt for optimal freezing. Too little salt can lead to a slushy consistency instead of smooth ice cream.
Vigorous Shaking: Don’t hold back! Shake the bags vigorously for the full 5-10 minutes. Inadequate shaking can result in a soft mixture, not the firm ice cream you want.
Avoid Salt Contamination: Wipe off any rock salt from the smaller bag before opening it to prevent salty ice cream, which can ruin your delicious treat.
How to Store and Freeze ice cream in a bag
Fridge: Store any leftover ice cream base in an airtight container for up to 2 days before using it for ice cream in a bag.
Freezer: Once your ice cream in a bag is ready, transfer it to an airtight container and freeze for up to 2 weeks for the best texture and flavor.
Ice Storage: Keep any unused ice separate in a sealed bag or container. Ice can last indefinitely, but it’s best used within a week for optimal freshness.
Salt Storage: Rock salt should be stored in a cool, dry place. Ensure it’s tightly sealed to prevent moisture from clumping, which can affect its effectiveness.
ice cream in a bag Your Way
Unleash your creativity and customize this delightful treat with these fun variations that will tantalize your taste buds!
Chocolate Delight: Swap half of the sugar for cocoa powder to create a rich, chocolatey ice cream. This luscious twist is sure to satisfy any chocolate lover’s cravings.
Fruity Freshness: Blend in 1 cup of pureed fruit like strawberries or mangoes for a refreshing fruity flavor. The vibrant color and natural sweetness make this variation a hit with kids and adults alike.
Nutty Indulgence: Add 1/2 cup of finely chopped nuts such as pecans or almonds to the base for a crunchy texture. The nutty flavor complements the creaminess beautifully, creating a delightful contrast.
Minty Magic: Mix in 1 teaspoon of peppermint extract for a refreshing mint ice cream. Garnish with chocolate chips for an extra layer of flavor that takes you straight to dessert heaven.
Coffee Kick: Stir in 1 tablespoon of instant coffee granules or espresso powder for an energizing twist. This variation is perfect for coffee lovers looking to cool down while getting their caffeine fix.
Spicy Chocolate: Add a pinch of cayenne pepper or cinnamon to the chocolate base for a warm, spicy kick. The heat adds depth and intrigue, making each scoop an exciting experience.
Almond Joy: Incorporate shredded coconut and almond extract into the base for a tropical flair reminiscent of your favorite candy bar. This combination brings together creamy, nutty, and sweet flavors in perfect harmony.
Caramel Swirl: Drizzle store-bought caramel sauce into the mix just before sealing the bag. As you shake, it creates beautiful caramel ribbons that make each bite an indulgent treat.
Make Ahead Options
Making ice cream in a bag is not only a delightful activity but also perfect for meal prep, allowing you to enjoy homemade treats without the last-minute rush. You can easily prepare the ice cream base ahead of time by combining 1 cup of chilled heavy cream, 1 cup of chilled whole milk, 3/4 cup of granulated sugar, and 1 teaspoon of vanilla extract in a mixing bowl—just stir until the sugar dissolves. Pour this mixture into a quart-sized zip-top bag and seal it tightly, removing as much air as possible. For the ice and salt, you can pre-measure 3 cups of ice and 1/2 cup of rock salt into a gallon-sized zip-top bag. Store these bags in the freezer for up to 24 hours. When you’re ready to indulge, simply take out the prepared bags, shake them vigorously for about 5-10 minutes until your ice cream reaches your desired consistency, and then scoop it into bowls. Enjoy your sweet creation with minimal fuss!
ice cream in a bag Recipe FAQs
Can I use different types of milk for the ice cream base?
Absolutely! While this recipe calls for whole milk for its creaminess, you can use 2% milk or even a dairy-free alternative like almond milk or coconut milk. Just keep in mind that the texture and flavor may vary slightly.
What can I do if my ice cream isn’t thickening after shaking?
If your ice cream isn’t thickening after 5-10 minutes of vigorous shaking, it could be due to not enough salt in the ice or not shaking it hard enough. Ensure you’re using the full 1/2 cup of rock salt and shake with enthusiasm! If all else fails, give it another few minutes and check again.
How should I store leftover ice cream?
If you have any leftovers (unlikely, but it can happen!), transfer the ice cream into an airtight container and store it in the freezer. It should stay fresh for up to one week. Just remember to let it sit at room temperature for a few minutes before scooping if it becomes too hard!
What’s the best way to serve my homemade ice cream?
Serve your delicious homemade ice cream right away for the best texture! Use a warm scoop to make serving easier and add toppings like chocolate sauce, sprinkles, or fresh fruit for an extra special touch.
Can I double this recipe?
Yes, you can definitely double this recipe! Just make sure to increase the amount of ingredients proportionally and use larger bags to accommodate the extra volume. Remember, you might need to shake a bit longer—around 10-15 minutes—to reach that perfect creamy consistency.
Is this homemade ice cream suitable for those with dietary restrictions?
This basic recipe contains dairy and sugar, but you can easily adjust it! To make a dairy-free version, substitute heavy cream with coconut cream and use a plant-based milk. For a lower-sugar option, try using a sugar substitute or natural sweeteners like honey or maple syrup.
Ice Cream in a Bag
A fun and easy way to make homemade ice cream using just a few ingredients and a zip-top bag.
Aminaa Turner is a passionate home cook and recipe developer who loves creating simple, delicious dishes that bring people together. Through RecipesByAminaa, she shares easy everyday meals, comforting dinners, and indulgent desserts made with fresh, wholesome ingredients to inspire you in the kitchen.
Get Top 5 Lunch Recipes
Our Top 5 Dinner Recipes feature the most delicious and satisfying meals that are simple to make and impossible to forget.
At Recipe Blog Tips, we believe that cooking should be fun, simple, and full of flavor. Our recipes are made for everyone, from beginners to seasoned cooks using ingredients you can easily find at home.