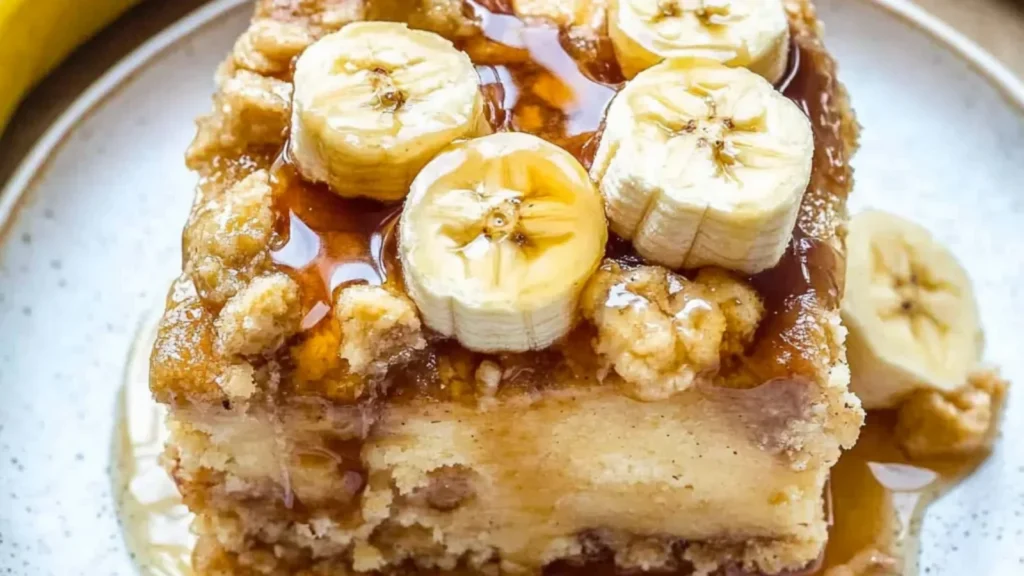
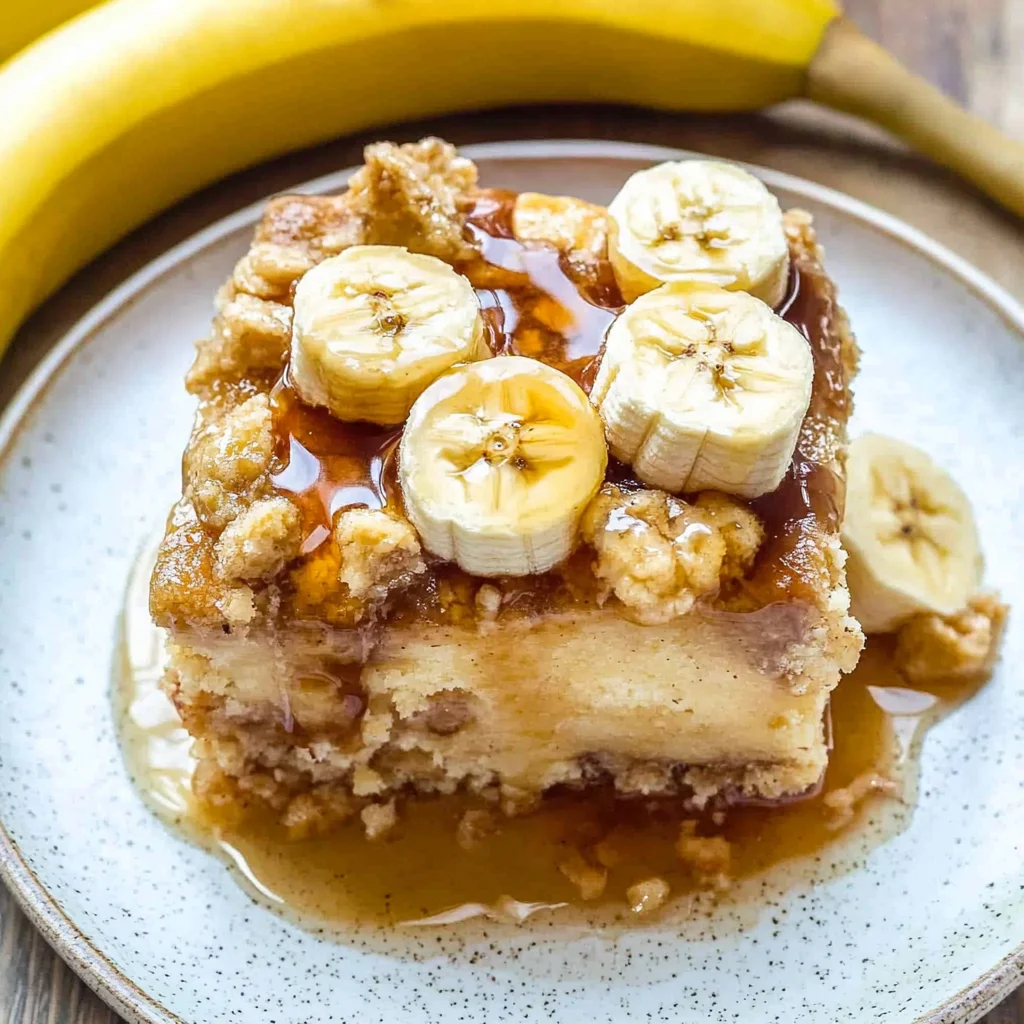
Banana Desserts: Irresistibly Creamy Delights to Savor
Imagine sinking your teeth into a velvety slice of banana cream pie, where the sweetness of ripe bananas dances with creamy custard and a buttery crust that crumbles just so. The aroma wafts through the kitchen, evoking memories of lazy Sunday afternoons spent with family, laughter ringing out as dessert steals the show.
Banana desserts have a magical way of turning any gathering into a celebration, whether it’s a birthday bash or just an ordinary Tuesday craving. As you take that first bite, you’ll find yourself transported to those carefree moments, promising an explosion of flavor that will leave you yearning for more.
Why are banana desserts so irresistible?
Deliciously unique: This recipe elevates traditional banana treats with unexpected flavors!
Quick and easy: Whip it up in under 30 minutes—perfect for busy days.
Crowd-pleaser: Ideal for gatherings; everyone loves a good banana dessert!
Versatile options: Enjoy it as a cake, pudding, or even ice cream!
Mouthwatering flavor: The sweet, rich taste will leave you wanting more!
Banana Desserts Ingredients
For the Cake:
2 cups all-purpose flour – This gives structure; whole wheat flour can add a nutty flavor if you prefer.
1 teaspoon baking soda – Helps the cake rise; make sure it’s fresh for best results.
1/2 teaspoon salt – Enhances flavor; you can reduce this if you’re watching your sodium intake.
1 cup granulated sugar – Sweetens the cake beautifully; brown sugar offers a deeper flavor profile.
1/2 cup unsalted butter (softened) – Adds moisture and richness; substitute with coconut oil for a dairy-free option.
3 large ripe bananas (mashed) – The star of banana desserts, providing natural sweetness and moisture.
2 large eggs – Binds ingredients together; use flaxseed meal and water for a vegan alternative.
1 teaspoon vanilla extract – Adds warmth and depth; homemade vanilla extract takes it to another level.
For the Frosting:
8 oz cream cheese (softened) – Gives that creamy texture; mascarpone is a lovely substitute for a different flavor.
1/4 cup unsalted butter (softened) – Ensures smoothness; can be replaced with vegan butter for dairy-free frosting.
2 cups powdered sugar – Sweetens and thickens the frosting; adjust based on your preferred sweetness level.
1 tablespoon milk or cream – Helps achieve desired consistency; use almond milk for a non-dairy option.
For Garnish:
1 banana (sliced) – Fresh slices on top add visual appeal and extra banana flavor to your desserts.
1/4 cup chopped walnuts or pecans – Adds crunch and nutty richness; omit if nut allergies are a concern.
This delightful concoction represents the magic of banana desserts, turning simple ingredients into cherished family memories!
How to Make banana desserts
1.Preheat your oven to 350°F (175°C) to create the perfect baking environment for your banana desserts. A warm oven ensures that everything cooks evenly and develops a lovely golden color.
2.Mash 2-3 ripe bananas in a mixing bowl until smooth and creamy. This adds natural sweetness and moisture to your dessert, making it rich and delicious.
3.Combine the mashed bananas with sugar, eggs, and melted butter in the bowl. Blend everything together until fully incorporated, creating a luscious batter full of flavor.
4.Sift in flour, baking powder, and a pinch of salt gradually while stirring gently. This helps to aerate the mixture, ensuring your banana desserts turn out light and fluffy.
5.Fold in any optional ingredients like nuts or chocolate chips for added texture and flavor. Gently mix until just combined; you want those delicious surprises throughout your dessert!
6.Pour the batter into a greased baking dish or muffin tin, smoothing the top with a spatula. Bake for 20-25 minutes or until golden brown and a toothpick comes out clean.
7.Cool your banana dessert in the pan for about 10 minutes before transferring it to a wire rack. This will help set its shape while keeping that delightful moistness inside.
Optional: Top with whipped cream or sliced bananas for an extra touch of sweetness!
Exact quantities are listed in the recipe card below.
Expert Tips for banana desserts
Use Ripe Bananas: The sweeter the bananas, the better your banana desserts will taste. Look for those with plenty of brown spots.
Don’t Overmix: When combining wet and dry ingredients, mix just until incorporated. Overmixing can lead to dense, tough baked goods.
Watch the Oven: Every oven is different; keep an eye on your treats as they bake to avoid overcooking and losing that delightful moistness.
Chill Before Serving: Many banana desserts taste even better after chilling in the fridge for an hour. This allows flavors to meld beautifully.
Storage Matters: Store any leftovers in an airtight container at room temperature or in the fridge, depending on the recipe, to maintain freshness.
Storage Tips for banana desserts
Room Temperature: Keep banana desserts at room temperature for up to 2 days, covered with a clean kitchen towel or in an airtight container to maintain freshness.
Fridge: Store any leftover banana desserts in the fridge for up to 5 days. Make sure to wrap them tightly or place them in a sealed container to prevent drying out.
Freezer: For longer storage, freeze banana desserts in an airtight container or freezer bag for up to 3 months. Thaw overnight in the fridge before enjoying again.
Reheating: To reheat, simply pop individual servings in the microwave for about 10-15 seconds. This will revive the flavors and textures of your delicious banana desserts!
Banana Desserts that Wow
Feel free to make these delightful treats your own with a few simple tweaks and additions!
Gluten-Free: Substitute regular flour with almond or coconut flour for a nutty twist. This will keep the dessert deliciously moist and tender.
Vegan: Use flaxseed meal mixed with water instead of eggs. The result is a rich, satisfying texture that everyone will love.
Chocolate Lovers: Add cocoa powder or chocolate chips to the batter for an extra layer of indulgence. Imagine biting into a banana dessert that’s bursting with chocolatey goodness!
Nutty Crunch: Incorporate chopped walnuts or pecans for added texture and flavor. These nuts provide a delightful crunch that complements the soft bananas beautifully.
Spicy Kick: Mix in a pinch of cayenne or cinnamon for warmth. A little heat makes the sweet flavors pop and adds an unexpected twist.
Fruit Fusion: Swap out some bananas for mashed berries or applesauce. This not only changes the flavor profile but also adds vibrant color to your dish.
Creamy Delight: Top your dessert with whipped coconut cream for a tropical flair. It’s light, airy, and enhances the banana’s natural sweetness.
Frozen Treats: Freeze your banana desserts for a refreshing summer treat. A quick freeze can transform your creations into delightful popsicles!
Make Ahead Options
If you’re looking to enjoy delicious banana desserts without the last-minute rush, you’re in luck! Many components of these sweet treats can be prepped in advance, making them perfect for meal prep. For instance, you can mash ripe bananas and store them in an airtight container in the refrigerator for up to 3 days. Additionally, if your dessert includes a creamy layer or frosting, prepare it ahead of time and keep it chilled for 24 hours. When it’s time to serve, simply combine all the elements; for added freshness, consider garnishing with chopped nuts or a sprinkle of cinnamon just before enjoying. By planning ahead, you’ll save time and ensure that your banana desserts are ready whenever a craving strikes!
banana desserts Recipe FAQs
What type of bananas should I use for banana desserts?
For the sweetest and most flavorful banana desserts, opt for ripe bananas with a few brown spots. They should be soft to the touch, as this indicates their sugars have developed beautifully. If they’re overly mushy or blackened, they might be past their prime, but can still be perfect for baking!
How should I store my banana desserts?
Store your banana desserts in an airtight container at room temperature for up to 2 days. If you want to keep them longer, refrigerate them; most will last about a week in the fridge. Just remember that chilling can sometimes change the texture slightly, so enjoy them fresh when you can!
Can I freeze banana desserts?
Absolutely! Most banana desserts freeze well. Make sure to wrap individual servings tightly in plastic wrap or foil and place them in a freezer-safe container. They can last up to 3 months in the freezer. When you’re ready to enjoy one, simply thaw it in the fridge overnight or pop it in the microwave for a quick reheat.
What should I do if my banana bread is too dense?
If your banana bread turns out dense, it might be due to overmixing the batter or using too many bananas. For future bakes, mix just until combined and consider reducing the number of bananas if they’re particularly large. A sprinkle of baking soda can also help lighten things up!
Are there any dietary considerations for banana desserts?
Yes! Banana desserts are wonderfully versatile. For gluten-free options, substitute regular flour with almond or coconut flour. If you’re looking for lower sugar alternatives, try substituting honey or maple syrup; just reduce other liquids accordingly. And for vegan versions, replace eggs with flaxseed meal or applesauce!
How long do homemade banana desserts generally last?
Homemade banana desserts typically last about 2-3 days at room temperature. If refrigerated, they can stay fresh for about a week. Always check for any signs of spoilage—like an off smell or unusual texture—before diving back into those sweet delights!
Banana Cream Pie
A delightful banana dessert featuring a velvety custard, ripe bananas, and a buttery crust.
8ozcream cheese (softened)Mascarpone can be used for a different flavor.
1/4cupunsalted butter (softened)Can be replaced with vegan butter.
2cupspowdered sugarAdjust based on preferred sweetness level.
1tablespoonmilk or creamUse almond milk for a non-dairy option.
For Garnish
1/4cupchopped walnuts or pecansOmit if nut allergies are a concern.
Method
Baking Instructions
Preheat your oven to 350°F (175°C).
Mash 2-3 ripe bananas in a mixing bowl until smooth and creamy.
Combine the mashed bananas with sugar, eggs, and melted butter in the bowl. Blend until fully incorporated.
Sift in flour, baking powder, and a pinch of salt gradually while stirring gently.
Fold in optional ingredients like nuts or chocolate chips for added texture.
Pour the batter into a greased baking dish or muffin tin, smoothing the top with a spatula. Bake for 20-25 minutes or until golden brown and a toothpick comes out clean.
Aminaa Turner is a passionate home cook and recipe developer who loves creating simple, delicious dishes that bring people together. Through RecipesByAminaa, she shares easy everyday meals, comforting dinners, and indulgent desserts made with fresh, wholesome ingredients to inspire you in the kitchen.
Get Top 5 Lunch Recipes
Our Top 5 Dinner Recipes feature the most delicious and satisfying meals that are simple to make and impossible to forget.
At Recipe Blog Tips, we believe that cooking should be fun, simple, and full of flavor. Our recipes are made for everyone, from beginners to seasoned cooks using ingredients you can easily find at home.