Delicious Classic Mini Cheesecakes Recipe for Every Occasion
The scent of baked cheesecakes wafts through the air like a delicious hug on a chilly day, drawing everyone in for a taste of nostalgia and sweetness. These Classic Mini Cheesecakes are not just desserts; they’re tiny bites of happiness that evoke memories of family gatherings, holiday celebrations, and the joy of sharing delicious food with loved ones. Balancing a velvety texture and a hint of tanginess, each mini cheesecake perfectly captures that blissful cheesecake flavor, making it an ideal treat for any occasion.
Imagine delighting your friends and family with these gorgeous, bite-sized treats that not only look fabulous but also taste divine. Whether you’re hosting a summer BBQ, a cozy winter gathering, or just need something sweet to brighten your day, these Classic Mini Cheesecakes will be the star of the dessert table. Brace yourself for an explosion of flavors as you take a bite and savor that creamy, dreamy cheesecake filling—you’re about to embark on a delightful culinary adventure!
Why You'll Love This Classic Mini Cheesecakes
These incredible Classic Mini Cheesecakes transform simple everyday ingredients into restaurant-quality flavors that will blow your mind completely.
Foolproof recipe techniques guarantee perfect results every single time, making even novice cooks feel like professional chefs instantly.
Stunning visual appeal with gorgeous colors and mouthwatering aromas creates the ultimate Instagram-worthy dish for any special occasion.
Endlessly adaptable for different dietary needs while working beautifully for meal prep, date nights, or entertaining large groups effortlessly.
Ingredients for Classic Mini Cheesecakes
Here’s what you’ll need to make this delicious Classic Mini Cheesecakes:
1 cup (120 grams) graham cracker crumbs – The classic cheesecake base providing crunch and flavor; look for finely crushed crumbs for the best texture.
3 tablespoons (40 grams) granulated sugar – Adding just the right amount of sweetness to the crust, you can adjust based on your taste.
3 and 1/2 tablespoons (50 grams) unsalted butter, melted – This binds the crust together; make sure it’s melted for even mixing.
16 ounces (452 grams) brick-style cream cheese, softened to room temperature – The heart of our cheesecake, softening it makes it easier to blend and creates that creamy texture.
1/3 cup (80 grams) sour cream, room temperature – This adds a delightful tanginess, balancing out the sweetness beautifully.
1/2 cup (100 grams) granulated sugar – For the creamy filling, this sugar is essential for achieving that perfect sweetness.
1 teaspoon pure vanilla extract – Enhances the flavor profile, and always opt for pure vanilla—it’s worth it.
2 large eggs, room temperature – Key for binding everything together, ensuring your cheesecakes hold their shape nicely.
How to Make Classic Mini Cheesecakes
Follow these simple steps to prepare this delicious Classic Mini Cheesecakes:
Step 1: Preheat Your Oven
Set your oven to 325°F (163°C). Line a 12-count muffin pan with cupcake liners—this helps with easy removal later and adds a cute touch.
Step 2: Prepare the Crust
In a large mixing bowl, stir together the graham cracker crumbs and sugar. Pour in the melted butter and mix until all crumbs are moistened. Evenly distribute this mixture among the liners, pressing it down firmly to form a crust. Bake for 5 minutes and then remove from the oven, keeping the temperature at 325°F (163°C).
Step 3: Mix the Filling
In a stand mixer or using an electric mixer in a large bowl, combine the softened cream cheese and sour cream until smooth and creamy. Stop occasionally to scrape down the sides for even mixing.
Step 4: Add Sugar and Vanilla
Mix in sugar and vanilla extract until fully combined. This step is crucial for a rich and flavorful cheesecake.
Step 5: Incorporate the Eggs
Add the eggs, one at a time, mixing on low speed until just combined. Avoid overmixing here; you want to keep that silky texture.
Step 6: Bake the Mini Cheesecakes
Carefully distribute the cheesecake batter evenly into each lined cup, filling them almost to the top. Bake them for 17-20 minutes or until the tops are set but still slightly jiggly.
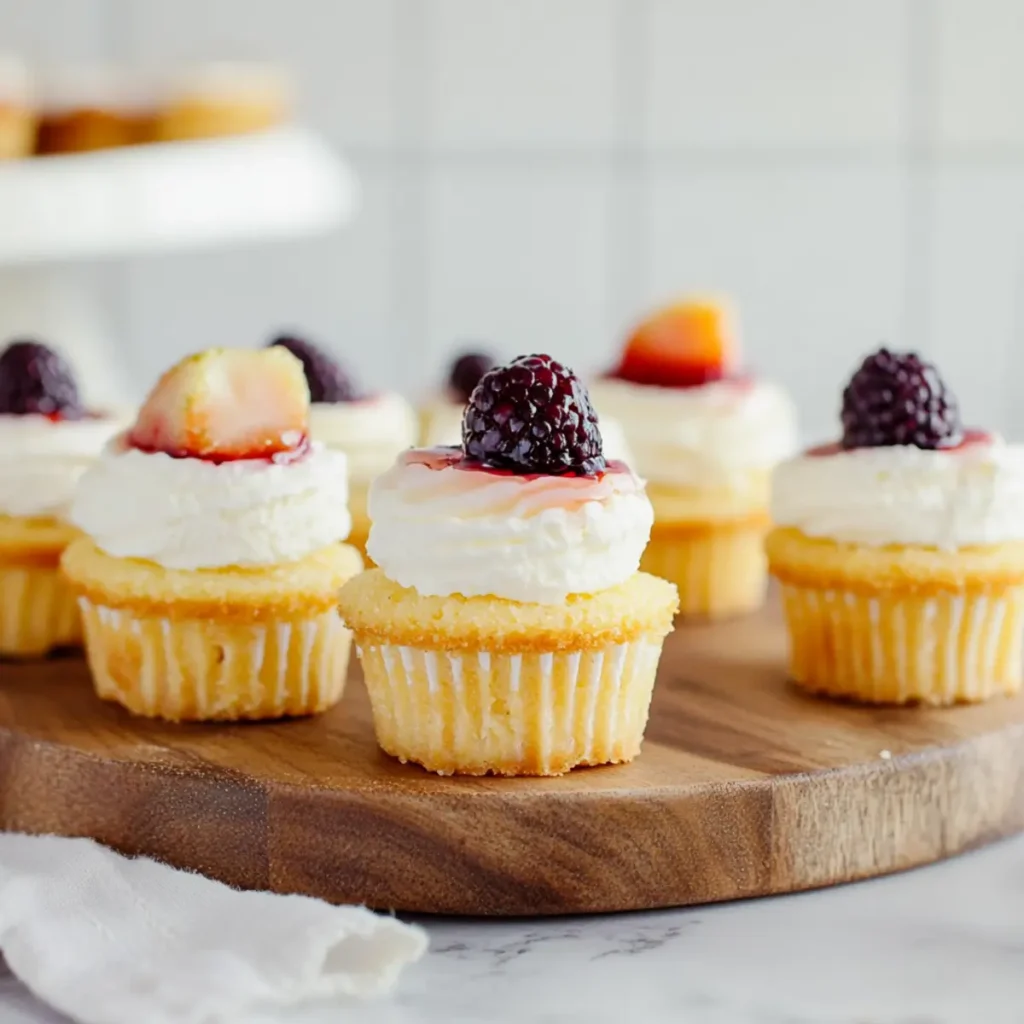
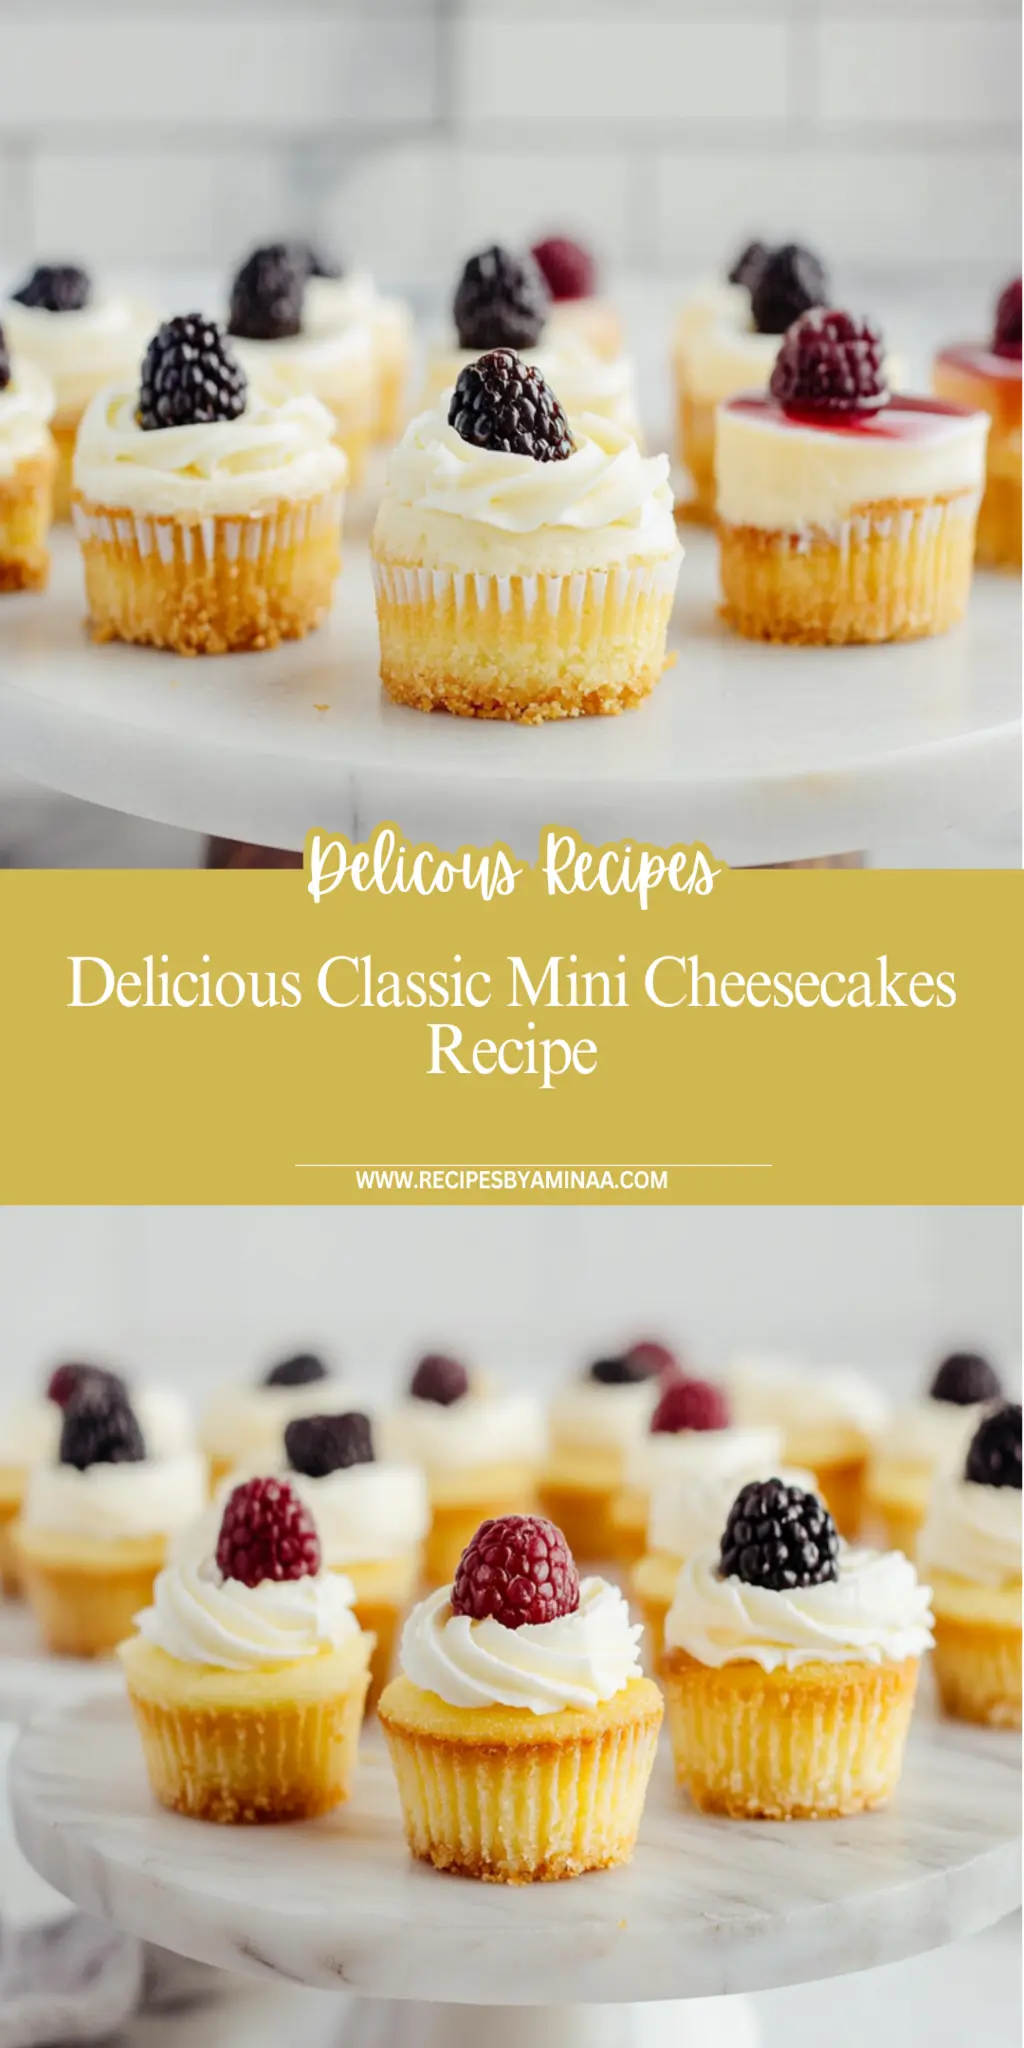
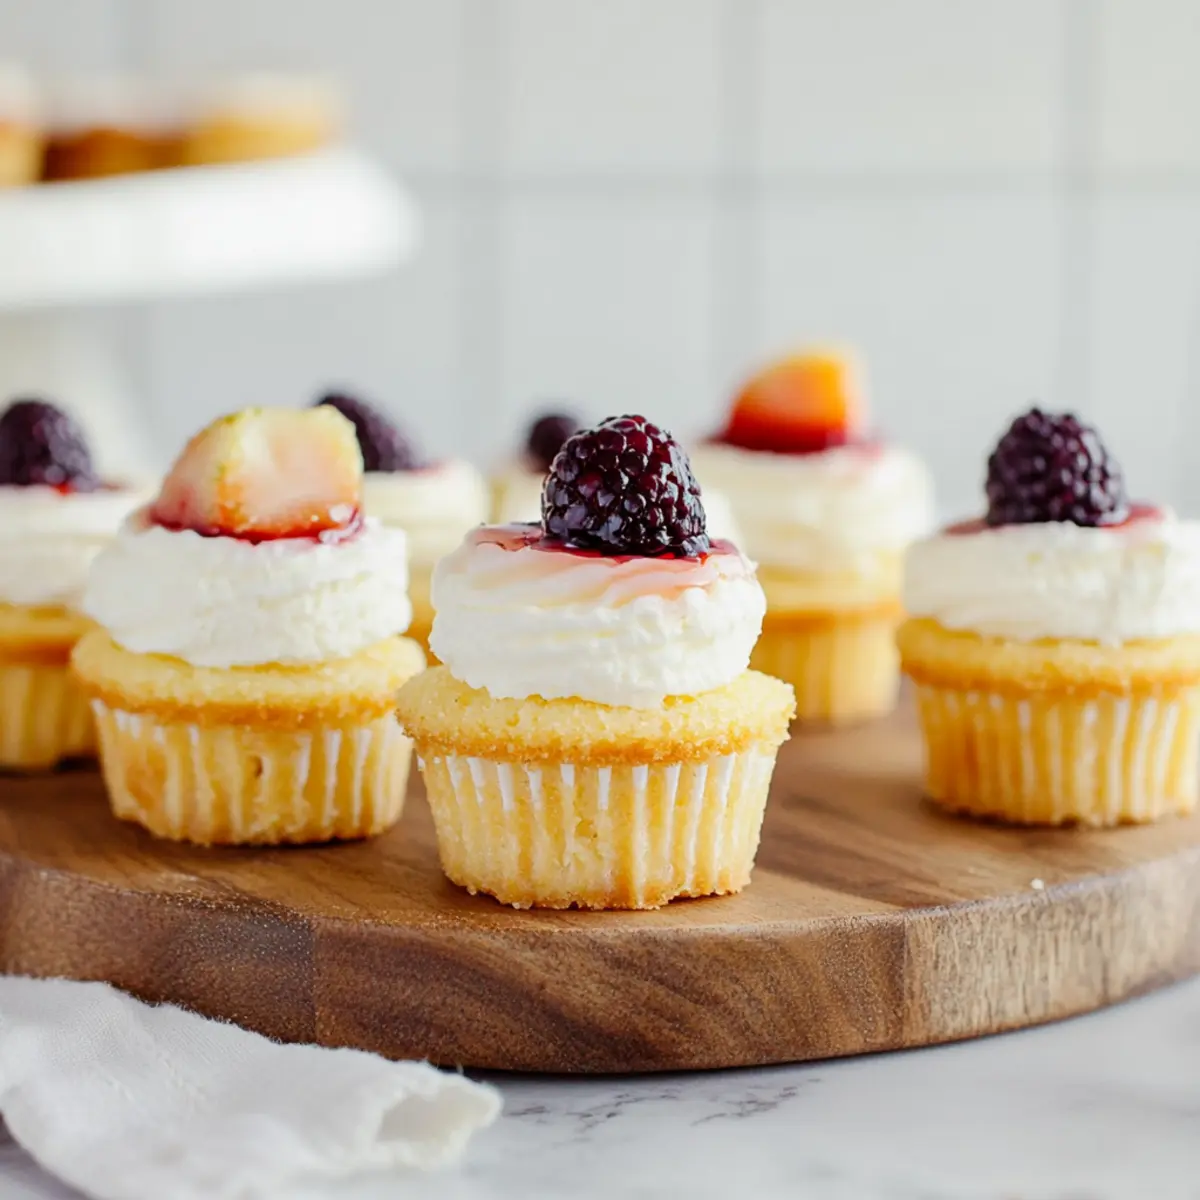
After you remove these beauties from the oven, let them cool in the pan for about one hour. Then, carefully pop them out and store in an airtight container in the fridge for at least 3-4 hours or overnight, if you can wait that long! Before serving, consider garnishing these with some fresh berries or a drizzle of chocolate sauce for an extra treat.
Now, grab a cup of coffee or tea and enjoy the fruits of your labor as you delight in these Classic Mini Cheesecakes. Trust me, once you take that first bite, you won’t want to share. Enjoy!
You Must Know About Classic Mini Cheesecakes
This showstopping Classic Mini Cheesecakes delivers restaurant-quality results using simple ingredients you probably already have at home.
The perfect balance of textures and flavors creates an unforgettable dining experience that will have everyone asking for seconds.
Picture-perfect presentation with vibrant colors makes this dish absolutely Instagram-worthy and guaranteed to impress any dinner guest.
Incredibly versatile recipe that works beautifully for weeknight dinners, meal prep, special occasions, or even outdoor entertaining sessions.
Perfecting Classic Mini Cheesecakes Cooking Process
Start by prepping your crust; mix graham cracker crumbs, sugar, and butter, then press into your liners for a solid base. After baking them lightly, whip up the filling while they cool. This sequence ensures a seamless flow and eco-friendly dishwashing later!
Add Your Touch to Classic Mini Cheesecakes
Feel free to switch the graham cracker crust with chocolate cookies for a richer taste. You can also add citrus zest or chocolate chips to the filling for an exciting twist that makes each mini cheesecake uniquely yours!
Storing & Reheating Classic Mini Cheesecakes
Store leftover mini cheesecakes in an airtight container in the fridge for up to five days. If you’re reheating, a quick 10-second zap in the microwave can restore their creamy goodness without losing that delightful texture.
Chef's Helpful Tips for Classic Mini Cheesecakes
This professional-quality Classic Mini Cheesecakes relies on precise timing and temperature control to achieve restaurant-standard results consistently.
Master the art of mise en place by prepping all ingredients beforehand, ensuring smooth execution and preventing any last-minute cooking disasters.
The secret lies in layering flavors throughout the cooking process rather than seasoning only at the end for maximum depth.
Pro tip: let the finished dish rest for optimal texture and flavor development before serving to hungry guests waiting eagerly.
The first time I made these Classic Mini Cheesecakes, my friends couldn’t stop raving about them. One even requested a second batch for her birthday, which made my heart melt as much as the cheesecakes themselves!
FAQs About Classic Mini Cheesecakes
What are Classic Mini Cheesecakes?
Classic Mini Cheesecakes are delightful bite-sized desserts that pack all the creamy, rich flavor of traditional cheesecake but in a more manageable form. These little treats utilize a graham cracker crust and a velvety cream cheese filling, creating a perfect blend of texture and taste. Ideal for parties, gatherings, or simply satisfying your sweet tooth, they are easy to customize with various toppings or flavorings to suit any palate.
How do I store Classic Mini Cheesecakes?
To keep your Classic Mini Cheesecakes fresh, store them in an airtight container in the refrigerator. They will stay delicious for up to five days. If you want to freeze them for longer storage, individually wrap each cheesecake in plastic wrap and then place them in a freezer-safe container. Simply thaw in the fridge overnight before serving to preserve their creamy goodness.
Can I customize my Classic Mini Cheesecakes?
Absolutely! One of the best things about Classic Mini Cheesecakes is their versatility. You can switch things up by using crushed chocolate cookies for the crust or adding flavored extracts like lemon or almond to the filling. For toppings, consider fresh fruits, caramel, or chocolate sauce. Let your creativity shine, and make a version that reflects your unique taste!
What occasions are best for serving Classic Mini Cheesecakes?
Classic Mini Cheesecakes are perfect for virtually any occasion. Whether it’s a birthday party, holiday celebration, or simply a weeknight treat, their small size makes them convenient for sharing. Guests will love indulging in these sweet bites, and they pair well with coffee or tea. Plus, their impressive presentation ensures they will be the star of the dessert table!
Conclusion for Classic Mini Cheesecakes
In summary, Classic Mini Cheesecakes are an irresistible dessert that can elevate any gathering. Their creamy texture and customizable options make them a hit with dessert lovers. Whether you’re hosting a party or simply craving something sweet, these mini cheesecakes are sure to impress. So go ahead, whip up a batch and enjoy every delicious bite of your Classic Mini Cheesecakes!
Delicious Classic Mini Cheesecakes Recipe for Every Occasion
Indulge in these Classic Mini Cheesecakes, a delightful dessert perfect for any occasion.
3.5tablespoonsunsalted buttermelted, about 50 grams
Filling
16ouncesbrick-style cream cheesesoftened to room temperature, about 452 grams
1/3cupsour creamroom temperature, about 80 grams
1/2cupgranulated sugarabout 100 grams
1teaspoonpure vanilla extract
2largeeggsroom temperature
Equipment
12-count muffin pan
Mixing Bowls
Electric mixer or stand mixer
Cupcake liners
Method
Preparation
Preheat oven to 325°F (163°C). Line a 12-count muffin pan with cupcake liners and set aside.
In a large mixing bowl, stir together the graham cracker crumbs and sugar. Add the melted butter and mix until all of the crumbs are moistened.
Evenly distribute the mixture between all 12 liners and firmly press it down into one even layer. Bake at 325°F (163°C) for 5 minutes. Remove from the oven and set aside.
In the bowl of a stand mixer fitted with the paddle attachment, or in a large mixing bowl using an electric mixer, mix the cream cheese and sour cream together until smooth and creamy.
Add the sugar and vanilla extract and mix until fully combined, stopping to scrape down the sides of the bowl as needed.
Mix in the eggs, one at a time, on low speed until just combined.
Evenly distribute the batter between all 12 liners in the cupcake pan, filling each one almost all the way to the top.
Bake at 325°F (163°C) for 17-20 minutes or until the tops of the cheesecakes are set.
Remove from the oven and allow to cool in the pan for 1 hour. Carefully remove from the pan and chill in an airtight container in the refrigerator for 3-4 hours or overnight.
At Recipe Blog Tips, we believe that cooking should be fun, simple, and full of flavor. Our recipes are made for everyone, from beginners to seasoned cooks using ingredients you can easily find at home.